


How To Connect LED Strip Lights To 12V Power Supply?
To connect LED strip lights to a 12V power supply, confirm that the strip is rated for 12V DC, calculate its total wattage, connect positive to positive and negative to negative, and test the circuit before permanently mounting the strip.
The power supply must provide sufficient wattage without exceeding the strip’s voltage. A higher-wattage 12V supply does not force extra power into the strip, but a higher-voltage supply can damage it.
Read the Strip Markings
Look for printed labels on the flexible PCB or product packaging.
A typical single-color strip may show:
+12V
GND or negative
An RGB strip may show:
+12V
R
G
B
The RGB strip normally connects through a compatible controller rather than directly wiring every color channel to a basic two-output power supply.
Addressable strips can use separate positive, negative, and data connections. Their data direction must also be observed.
Never assume a strip is 12V because it looks similar to another model.
Calculate Power Consumption
Find the wattage per meter and multiply it by the installed length.
For example:
Strip rating: 9.6 W/m
Installed length: 5 m
Nominal load: 48 W
A 60W supply may technically exceed the nominal load, but a higher practical margin may be preferable for continuous service and warmer environments.
Do not calculate only from the number of reels. Different reels can have different wattages, LED densities, and lengths.
For a large project, prepare a schedule showing each strip branch and its connected load.
Prepare the Components
A basic 12V installation may require:
12V DC power supply
LED strip
Correct low-voltage cable
Controller or dimmer where required
Connectors or soldering equipment
Fuse or branch protection where specified
Aluminum mounting profile
Insulated terminal covers
Multimeter
Disconnect the AC supply before accessing any power-supply terminals.
The mains-input side should be installed by a qualified electrician. The following steps focus mainly on the low-voltage output.
Connect a Single-Color Strip
Locate the positive and negative 12V output terminals.
Connect the strip’s positive wire to the positive terminal. Connect the negative wire to the negative terminal.
Tighten screw terminals firmly without cutting conductor strands or leaving bare copper exposed.
When using a plug connector, verify its polarity. Center-positive and center-negative plugs can look identical externally.
Test the strip briefly before attaching it permanently. Reversed polarity usually prevents illumination, but power should be disconnected before correcting the wires.
Add a Dimmer or Controller
A single-color dimmer is normally installed between the 12V power supply and the strip.
The sequence becomes:
AC Input → 12V Power Supply → Dimmer → LED Strip
An RGB system normally uses:
AC Input → 12V Power Supply → RGB Controller → RGB Strip
Confirm the controller’s:
Input voltage
Maximum current
Channel quantity
Output polarity
Remote or control method
A controller that is too small can overheat even when the power supply has sufficient capacity.
Connect Several Strip Sections
Multiple 12V strips are generally connected as parallel branches.
Each branch receives positive and negative directly from a distribution point or power supply.
Avoid feeding a long project through the first strip because the strip’s copper tracks must then carry the current for every downstream section.
For larger loads:
Divide the strips into several branches.
Calculate the current of each branch.
Use suitable cable sizes.
Add power at several points.
Protect the connections inside an enclosure.
Label each branch for maintenance.
The combined load of all branches must remain within the selected power supply’s working capacity.
Control Voltage Drop
Voltage drop becomes more noticeable with long cables, thin conductors, and high current.
Symptoms include:
Dimmer LEDs at the far end
Color shift on RGB strips
Uneven brightness
Flicker during full output
Warm wires or connectors
Reduce voltage drop by shortening cable runs, using larger conductors, feeding the strip from both ends, or dividing it into shorter parallel sections.
Measure voltage at the power supply and at the far end of the operating strip. A significant difference indicates that the wiring arrangement needs improvement.
Mount the Strip for Heat Management
High-output LED strips should be mounted on a clean, stable, heat-conductive surface.
An aluminum profile can:
Support heat dissipation
Keep the strip straight
Protect it from contact
Hold a diffuser
Create a more finished appearance
Adhesive backing alone may not remain secure on dusty, textured, oily, or warm surfaces. Clips or profile mounting may be required.
Do not coil an illuminated strip tightly on its reel. Heat can build up and damage the LEDs or PCB.
Bulk Supply of 12V LED Power Supplies
We provide Bulk Supply of 12V LED power supplies for sign manufacturers, lighting contractors, display factories, distributors, and LED strip brands.
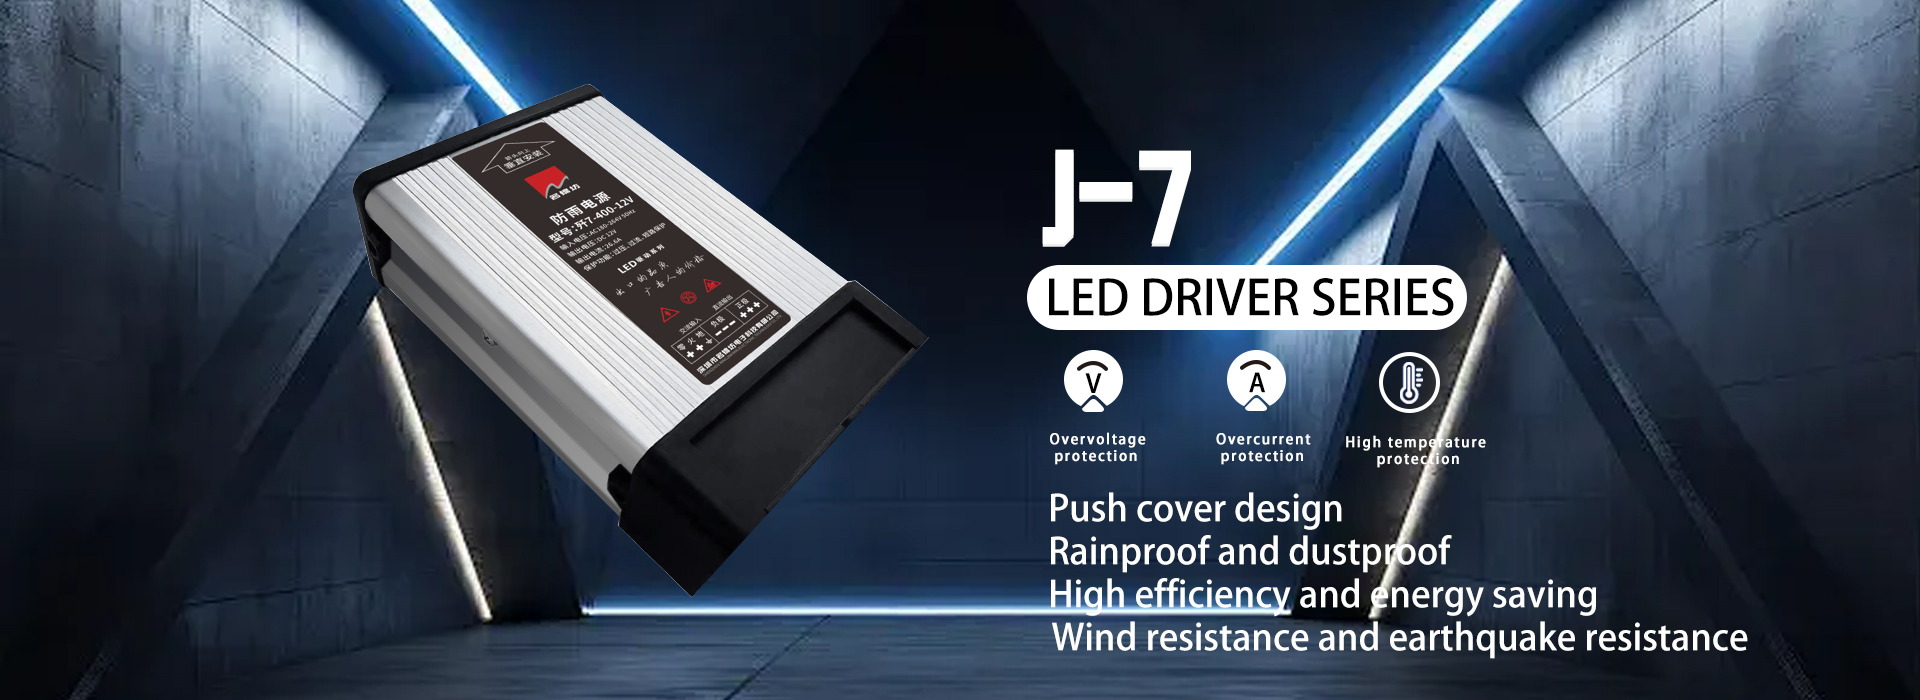
Our product categories include indoor, rainproof, semi-filled, linear, and waterproof structures for different installation environments.
Bulk and customized supply can address:
Rated output
Housing design
Terminal layout
Input range
Protection functions
Product label
Private logo
Packaging
Distributor requirements
Repeated production schedules
Configure a 12V Supply for Your LED Strip Range
Send us the strip wattage, maximum run length, number of branches, cable distance, environmental conditions, annual order quantity, and certification requirements.
Our engineers can prepare a matching proposal covering power calculations, sample evaluation, product selection, customized branding, inspection, and scheduled bulk delivery.