


How To Connect LED Lights To Power Supply?
LED lights should be connected to a power supply only after confirming whether they require constant voltage or constant current, matching the rated output, calculating total load, checking polarity, and selecting a power supply suitable for the installation environment.
Low-voltage LED connections can appear simple, but an incorrect supply can cause flicker, dimming, overheating, unstable color, or early failure.
Identify the LED Electrical Requirement
Check the product label or technical sheet before wiring.
Common constant-voltage products include:
LED strips
Signage modules
Channel-letter modules
Cabinet lights
Selected landscape lights
These frequently operate at 12V DC or 24V DC.
High-power LED arrays and some complete luminaires may require a constant-current driver instead. Their specification may list output current in milliamps or amps together with an operating voltage range.
A constant-voltage power supply should not be substituted for a constant-current driver unless the LED product contains its own current-regulation circuitry.
Match the Output Voltage Exactly
A 12V LED product requires a 12V DC output. A 24V product requires a 24V DC output.
Connecting a 12V strip to a 24V supply can damage it quickly. Connecting a 24V strip to a 12V supply may produce weak or no light.
Do not rely only on connector shape. Two products can use similar plugs while requiring different voltages.
The output label should show whether the terminals provide DC positive and negative. Observe the polarity markings on both the power supply and LED product.
Calculate the Required Wattage
Determine the power consumption of every connected LED section.
For strip lighting:
Total Load = Watts per Meter × Total Meters
A 5-meter strip using 10 watts per meter has a nominal load of 50 watts.
The power supply should not normally operate continuously at its absolute maximum rating. Allowing spare capacity can support cooler operation, startup demand, component tolerance, and future system variation.
A common planning approach is to operate the power supply around 80 percent of its rated capacity, subject to the product specification.
| Connected LED Load | Practical Minimum Supply Range |
|---|---|
| 40 W | Approximately 50 W or higher |
| 80 W | Approximately 100 W or higher |
| 120 W | Approximately 150 W or higher |
| 160 W | Approximately 200 W or higher |
The final selection must also consider ambient temperature, enclosure ventilation, and manufacturer derating requirements.
Plan the Low-Voltage Wiring
Disconnect all power before making connections.
Connect the positive output terminal to the positive LED input and the negative terminal to the negative input.
For several LED branches, parallel wiring is generally used so each branch receives the same rated voltage.
Long strips should not always be connected end to end as one continuous chain. Voltage drop can cause the far end to become dim.
Better options include:
Feeding power at both ends
Adding power at intermediate points
Dividing the installation into parallel branches
Using a higher-voltage strip where appropriate
Increasing the low-voltage cable size
Reducing the distance between supply and load
Use wire sized for the current, distance, environment, and local electrical requirements.
Handle the AC Input Safely
The input side of many LED power supplies connects to hazardous mains voltage.
AC wiring, grounding, circuit protection, enclosure selection, and permanent building connections should be completed by a qualified electrician according to local regulations.
Never work on the input terminals while the circuit is energized.
The electrician should confirm:
Input voltage and frequency
Protective earth requirements
Circuit breaker or fuse
Cable specification
Enclosure ventilation
Moisture exposure
Accessible terminals
Strain relief
Isolation from low-voltage wiring
Do not install an open-frame Indoor Power Supply where users can touch the terminals.
Select the Right Housing
Indoor ventilated units are suitable for dry, protected installations with enough airflow.
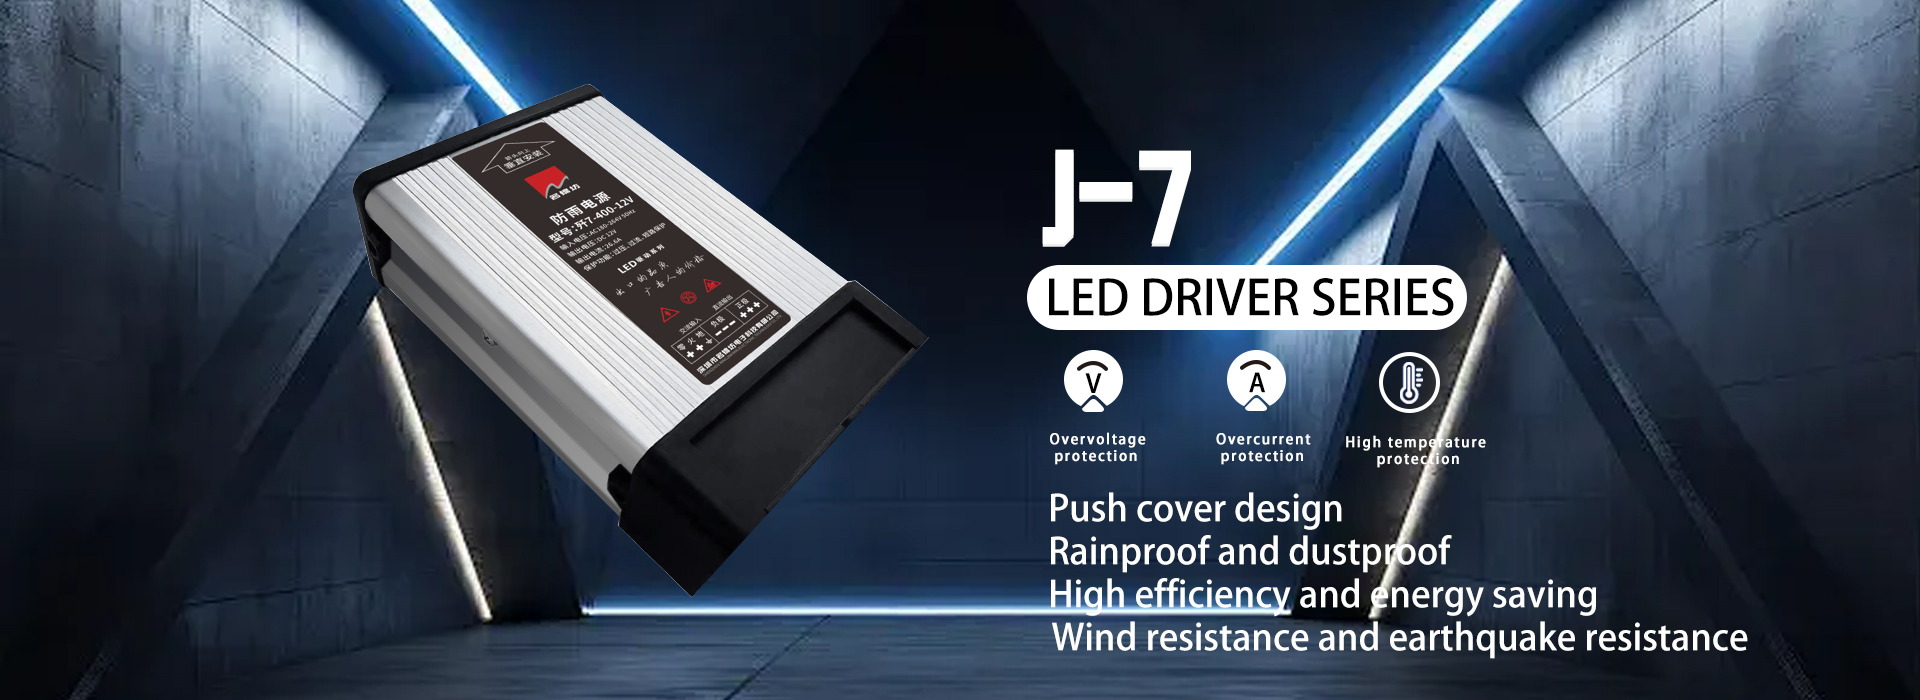
rainproof power supplies provide additional protection but should still be installed in the orientation and environment specified by the manufacturer.
Waterproof sealed models are more appropriate for exposed or damp applications when their environmental rating matches the project.
The power supply should not be covered by insulation or placed in a sealed space unless the design permits it. Heat buildup reduces output capability and component life.
Test Before Completing Installation
After checking every connection, restore power and observe the LED system.
Confirm:
All branches illuminate.
Brightness is uniform.
No connector becomes hot.
The power supply operates without unusual noise.
The output voltage remains stable.
Dimming and controllers function correctly.
No exposed conductor remains accessible.
Disconnect power immediately when the LEDs flicker continuously, the supply shuts down repeatedly, or wiring becomes hot.
Reliable Export Supplier of LED Power Supplies
As a Reliable Export Supplier of LED power supplies, our group provides indoor, rainproof, semi-filled, linear, and waterproof power solutions.
Our company began producing switching power supplies in 2010 and now operates three independent factories with approximately 500 employees. Our products serve distributors and customers across more than 100 countries and regions.
Project services can cover:
Input-voltage range
12V or 24V DC output
Wattage selection
Indoor or outdoor housing
Terminal configuration
Protection functions
Labels and branding
Individual or bulk packaging
Technical and after-sales support
Request a Complete Power-Supply Configuration
Provide the LED type, operating voltage, total wattage, cable distance, indoor or outdoor environment, control method, quantity, and destination market.
Our team can calculate the required capacity and prepare a quotation covering samples, product matching, customized labels, production inspection, packaging, and bulk export supply.