


How To Connect The Led Strips To Power Supply?
Connecting LED strips to a power supply requires the correct voltage, sufficient power capacity, proper polarity, and secure wiring. Incorrect connections may cause the LED strip to remain off, flicker, overheat, or suffer permanent damage.
The AC input side of the power supply should be connected by a qualified electrician. Always disconnect the mains electricity before starting installation.
Step 1: Check the LED Strip Voltage
Look at the product label or technical specification. Common LED strip systems operate at 12V DC or 24V DC.
The power supply output must match the LED strip:
A 12V LED strip requires a 12V DC power supply
A 24V LED strip requires a 24V DC power supply
Using a higher voltage can damage the LEDs. A lower voltage may cause weak or unstable lighting.
Step 2: Calculate the Total Load
Multiply the rated power per meter by the total strip length.
For example, an 8-meter LED strip rated at 10 W/m requires:
8 m × 10 W/m = 80 W
A power supply larger than 80W should be selected to provide an operating margin.
Step 3: Identify the Power Supply Terminals
A typical enclosed LED power supply may include:
L for live AC input
N for neutral AC input
Earth symbol for protective grounding
V+ for positive DC output
V− for negative DC output
Terminal markings may vary between products. Always check the wiring diagram printed on the power supply.
Do not connect the LED strip to the AC input terminals.
Step 4: Connect the LED Strip Polarity
Most single-color LED strips have positive and negative copper pads or wires.
Connect:
LED strip positive terminal to power supply V+
LED strip negative terminal to power supply V−
Reversed polarity usually prevents the strip from lighting. Disconnect the power before correcting the wiring.
RGB and RGBW LED strips normally require a compatible controller between the power supply and the strip. The controller receives power and manages the different color channels.
Step 5: Use Secure Connectors
LED strips can be connected with soldered wires or compatible strip connectors. Every connection should be mechanically secure and properly insulated.
Loose connections may cause:
Flickering
Localized heating
Uneven brightness
Burned connectors
Intermittent operation
The wire size should also match the current and cable distance. Very thin wires can increase resistance and voltage drop.
Step 6: Connect Multiple LED Strips
When several LED strips use the same power supply, they are normally connected in parallel.
In a parallel connection, each LED strip receives the full rated voltage. The total wattage of all branches must remain within the power supply capacity.
Long LED strip runs may require power from both ends or additional power injection points. This helps prevent the far end from becoming dimmer.
Selecting a Suitable MINGJINFANG Power Supply
The power supply should match both the electrical load and the installation environment.
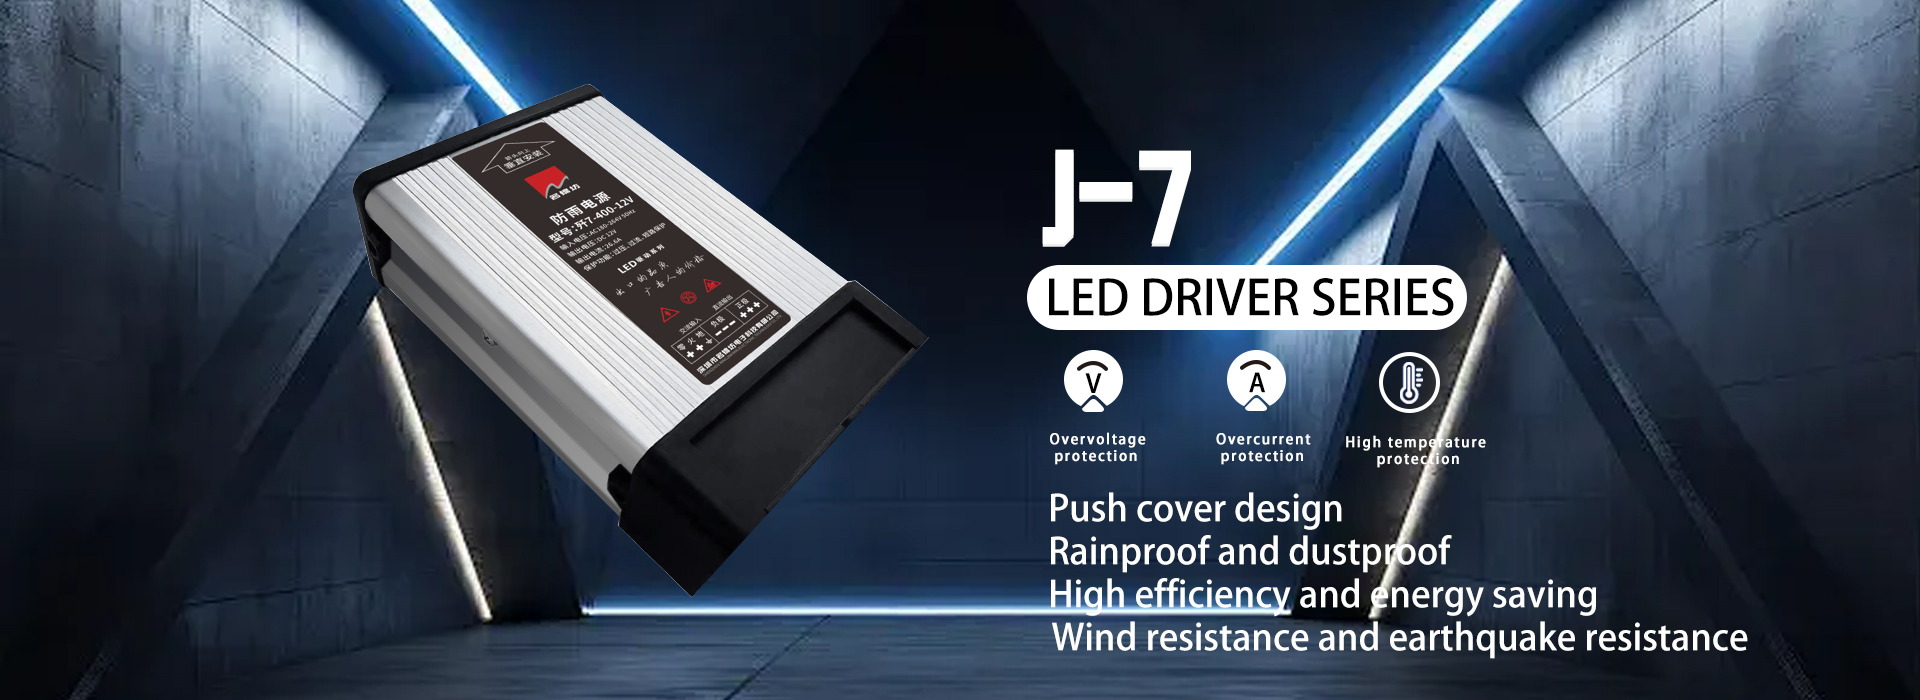
MINGJINFANG provides indoor, rainproof, semi-filled rainproof, and waterproof power supplies for LED strips, light boxes, channel letters, shop signs, and decorative lighting.
For OEM and project orders, customers can provide the following requirements:
Input voltage
Output voltage
Rated wattage
Enclosure type
Product quantity
Label design
Packaging method
Matching these details before production helps reduce installation problems and ensures better compatibility with the LED strip system.
Step 7: Test the System
After completing the wiring, inspect every connection before restoring power.
Check:
Whether the complete LED strip lights up
Whether brightness is uniform
Whether any connector becomes hot
Whether the power supply produces unusual noise
Whether the far end becomes dim
Whether the controller and dimmer work correctly
For commercial installations, allow the system to operate for a period before closing the light box, cabinet, ceiling profile, or sign enclosure.
Common Connection Problems
| Problem | Possible Cause |
|---|---|
| LED strip does not turn on | Reversed polarity or incorrect voltage |
| LED strip flickers | Loose connection or insufficient power |
| Far end is dim | Voltage drop |
| Power supply becomes hot | Excessive load or poor ventilation |
| RGB colors are incorrect | Wrong controller wiring |
| Only part of the strip works | Damaged section or connector failure |
Important Safety Considerations
Do not work on the power supply while it is connected to mains electricity. Keep the power supply in a ventilated location and do not exceed its rated capacity.
Waterproof LED strips should also use suitable waterproof connectors and protected wiring. A waterproof strip alone does not make the complete system suitable for outdoor use.
Conclusion
To connect LED strips to a power supply, match the voltage, calculate the complete wattage, identify the terminals, and connect the positive and negative wires correctly.
Secure wiring, suitable power capacity, proper load distribution, and correct environmental protection help maintain stable brightness and reliable long-term operation.