


How To Connect Led Lights To Power Supply?
Connecting LED lights to a power supply sounds simple, but in real signage and lighting projects, many failures start from this step. A sign may flicker after installation. A light box may work during testing but fail after several hours. A channel letter may show uneven brightness because the voltage drops at the far end. For contractors, sign makers, display manufacturers, and lighting distributors, these problems often turn into callbacks and after-sales work.
The key is not only connecting positive to positive and negative to negative. The power supply must match the LED voltage, total load, installation environment, cable distance, and working hours. When these details are planned before wiring, the whole lighting system becomes more stable.
Start With The Correct Voltage
Most LED strips, modules, and signage lights work with low-voltage DC power, such as 12V or 24V. The power supply must match the LED light requirement. If the voltage is wrong, the LED lights may not turn on, may become dim, may flicker, or may be damaged.
Before connecting anything, installers should check the label or specification of the LED light. The output voltage of the power supply should match the LED input voltage. This step is basic, but it is also one of the most common causes of lighting failure.
For B2B buyers, this matters because one wrong voltage decision can affect a whole project. In storefront signs, light boxes, cabinet lighting, outdoor displays, or channel letters, correcting the problem after installation can cost more than checking the power match at the beginning.
Calculate The Load Before Wiring
LED lights should not be connected to a power supply without checking total wattage. Each LED strip or module consumes power. When several sections are connected together, the total load increases. If the power supply is too small, the lights may work for a short test but become unstable during long operation.
A practical method is to calculate the total wattage of all connected LED lights, then choose a power supply with enough margin. Many installers avoid running a power supply at full capacity because continuous operation, heat, and site conditions can affect long-term stability.
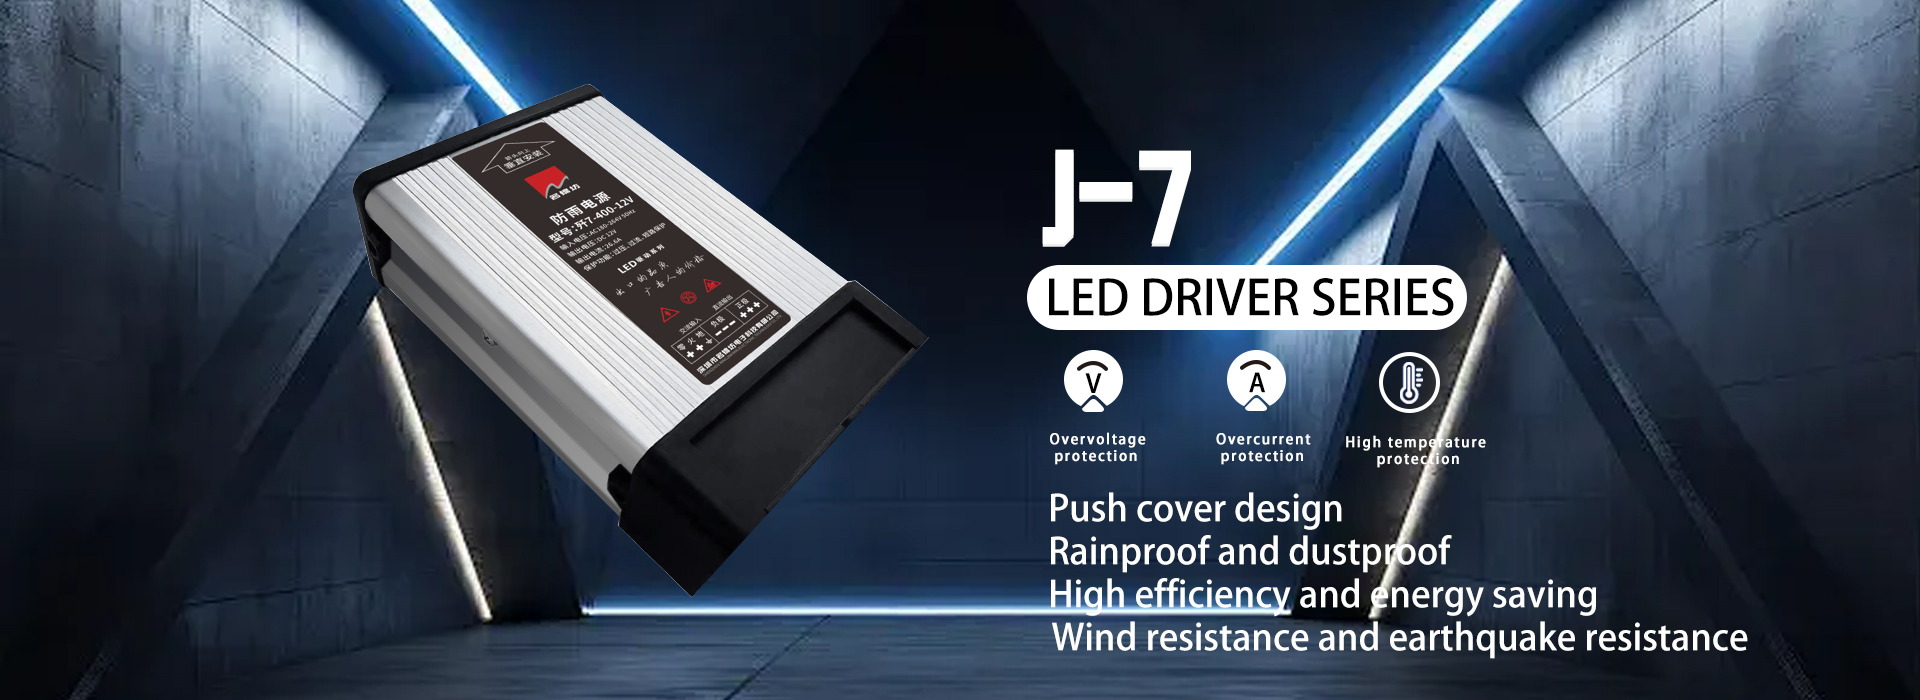
We are MINGJINFANG, and our J6 Rainproof Power Supply is designed for LED lighting projects where contractors need a power source suitable for more demanding installation environments. For distributors and project buyers, selecting the right power supply capacity helps reduce repeated service calls after the lights are delivered.
Keep Polarity And Cable Runs Clear
LED lighting systems usually have positive and negative connections. If the polarity is reversed, the lights may not turn on. In larger installations, poor cable organization can also make maintenance difficult later.
Installers should keep wiring clean and easy to follow. For long LED runs, it may be better to divide the circuit into sections instead of connecting too many lights in one long chain. Long cable runs can create voltage drop, especially when the cable is too thin or the load is too high at the end of the line.
This is why many commercial lighting teams prepare a wiring layout before installation. The layout should show where the power supply sits, where each LED section starts, where cables pass through, and where future maintenance access is available. A clean wiring plan saves time when the system needs inspection later.
Choose The Power Supply Based On The Site
Indoor and outdoor lighting projects do not need the same power supply. A power supply used in a dry indoor display is different from one used in a sign box, outdoor shopfront, semi-exposed lighting area, or damp installation space.
Rain, humidity, dust, and heat can all affect LED power stability. In outdoor or semi-outdoor projects, buyers should choose a power supply with better environmental protection and make sure cable joints are also protected. A rainproof power supply can help, but poor installation can still create problems if water reaches the wiring connection.
For contractors, this is an important point. The power supply should be selected according to the real site, not only the LED type. A storefront sign, outdoor advertising box, garden light project, or channel letter system may need different protection planning.
Test Before Closing The Project
After wiring is complete, the system should be tested before the sign box, panel, or lighting structure is fully closed. Installers should check whether all LED lights turn on evenly, whether there is flicker, whether the power supply becomes too hot, and whether the far end of the LED run is dimmer than the start.
A short power-on test is useful, but for commercial projects, a longer test can reveal problems that do not appear immediately. If the power supply is overloaded or the wiring is weak, the lights may look normal at first and become unstable after working for a while.
This step can prevent many after-sales issues. It is much easier to adjust wiring, add another power supply, or correct a connection before the project is handed over to the customer.
Conclusion
To connect LED lights to a power supply correctly, installers should confirm voltage, calculate total load, connect polarity properly, plan cable runs, choose the right power supply for the installation environment, and test the system before final delivery.
For sign makers, lighting contractors, display manufacturers, and LED distributors, the goal is not just to make the lights turn on once. The goal is to keep them working steadily after installation, with fewer flickers, fewer shutdowns, and fewer return visits.
If your LED lighting projects often face unstable brightness, power failures, or wiring-related complaints, it may be worth reviewing the power supply plan before installation begins. Share the LED type, total wattage, site condition, and wiring layout with us, and we can help check whether a rainproof power supply direction is suitable for your project setup.
