


How To Connect LED Strip Lights To A Power Supply?
Connecting LED strip lights to a power supply is straightforward when you match the correct voltage, calculate the required wattage, and make secure polarity-correct connections. Most installation problems come from three avoidable mistakes: using the wrong voltage driver, under-sizing the power supply, or creating weak connections that cause flicker and overheating. This guide explains the full process from selecting a suitable power supply to wiring, testing, and scaling up for longer runs.
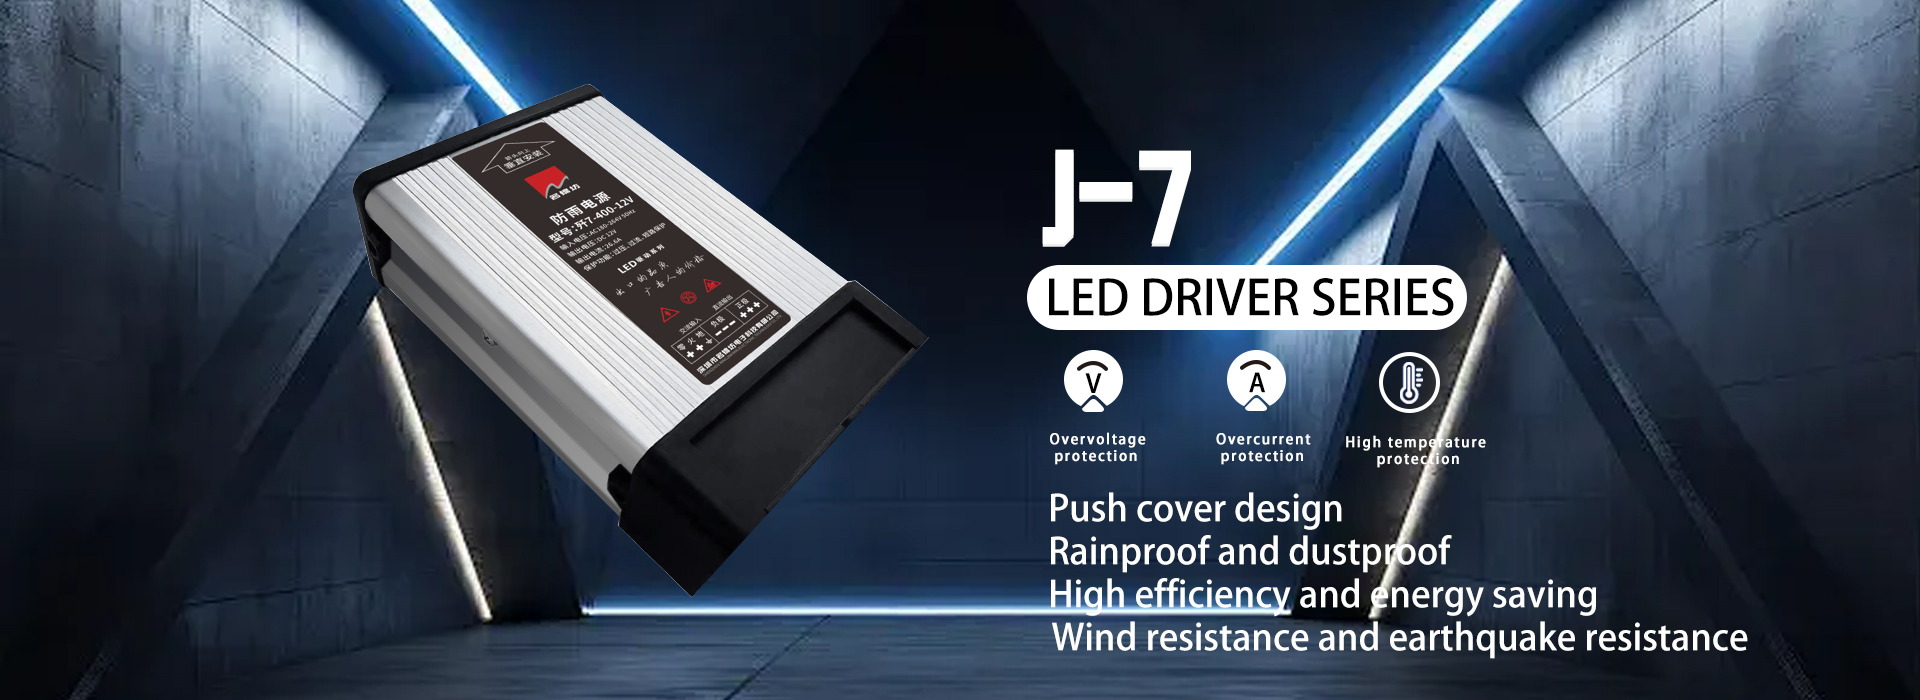
To explore LED power and lighting supply solutions from MJF, browse the MJF products range.

Confirm Your LED Strip Type Before Wiring
Before you connect anything, identify what kind of LED strip you have. The wiring method depends on this.
Common strip categories:
Constant-voltage strips such as 12V or 24V single color
RGB or RGBW constant-voltage strips that require a controller
Addressable strips that require a data controller plus a power supply
Waterproof strips that need sealed connections
This article focuses primarily on constant-voltage strips, then explains how controllers fit into RGB and addressable systems.
Choose The Right Power Supply
Match The Voltage Exactly
Most LED strips are designed for a specific input voltage, commonly 12V DC or 24V DC. The power supply output must match the strip voltage. A 12V strip on a 24V supply can fail quickly, while a 24V strip on a 12V supply may not light or will be very dim.
Size The Power Supply By Wattage With A Safety Margin
LED strips draw power based on wattage per meter or per foot. To choose the right power supply:
Find the strip power rating, such as watts per meter.
Multiply by total strip length.
Add a safety margin so the power supply is not running at maximum output continuously.
A common planning approach is to keep the power supply load at or below about 80 percent of its rated capacity for cooler operation and longer service life.
Select The Correct Power Supply Style
Power supplies are typically:
Plug-in adapters for smaller installations
Constant-voltage drivers for permanent wiring
Waterproof power supplies for damp environments
Enclosed ventilated units for cabinets and architectural lighting
For projects with multiple zones, using separate drivers per zone can improve reliability and simplify maintenance.
Know The Key Wiring Terms
Most constant-voltage LED strips have two terminals:
Positive, often labeled +, V+, or red wire
Negative, often labeled -, V-, or black wire
RGB and RGBW strips add more channels:
RGB: + and three color channels
RGBW: + and four channels
Addressable strips add:
Data line in addition to power and ground
Correct polarity and channel mapping are essential for stable operation.
Step-By-Step: Connecting A Single-Color LED Strip To A Power Supply
Turn off power and unplug the supply
Always work with the power supply disconnected.Prepare the strip end
If using a connector, ensure the copper pads are clean and not damaged. If soldering, expose the pads and tin them lightly.Connect positive and negative
Connect the power supply positive output to the strip positive pad.
Connect the power supply negative output to the strip negative pad.
Secure the connection
Use one of these methods:Clip-on connector matched to strip width and pad layout
Soldered pigtail wire with heat shrink insulation
Terminal block connection for fixed installations
Test before final mounting
Plug in the power supply and confirm:The strip lights evenly
No flicker at the connection
No heating at connectors
If it does not light, disconnect power and re-check polarity first.
How To Connect RGB Or RGBW Strips Using A Controller
RGB and RGBW strips do not connect directly to the power supply in the same way as a single-color strip. A controller is typically placed between the power supply and the strip.
Basic wiring flow:
Power supply DC output connects to the controller input
Controller output connects to the strip channels
Important checks:
Confirm the controller supports the correct voltage
Match channel order correctly, especially if wire colors differ by supplier
Avoid loose multi-pin connectors that can cause missing colors
If one color does not work, it is usually a channel connection issue rather than a power supply problem.
How To Connect Multiple LED Strip Runs To One Power Supply
For longer installations, you may connect multiple strip sections to one driver. The key is to avoid voltage drop and overloaded output.
Good practice:
Use parallel wiring for multiple runs rather than daisy-chaining too much length
Use thicker wire for longer distances from driver to strip
Consider power injection for long continuous runs
Keep connections accessible for future service
If the far end is dimmer than the near end, voltage drop is likely the cause.
Power Injection For Long Runs
Voltage drop is a normal electrical effect where the strip becomes dimmer as distance increases. Power injection solves this by feeding power at additional points.
Common injection methods:
Feed power at both ends of the strip
Inject power at midpoints on long runs
Split long lines into shorter runs fed from a distribution point
Power injection is especially helpful in under-cabinet lighting, cove lighting, and long architectural lines where consistent brightness matters.
Connection Methods And When To Use Each One
| Method | Best For | Advantages | Watch Outs |
|---|---|---|---|
| Clip-on connector | Quick indoor installs | Fast, no tools | Can loosen without strain relief |
| Soldered pigtail | Permanent reliable wiring | Strong electrical contact | Requires skill and insulation |
| Terminal block | Fixed cabinet or junction box | Clean wiring management | Must be enclosed and secured |
| Waterproof connector | Wet area installs | Sealed connection | Must match IP requirements |
For project work and repeat installations, soldered pigtails plus standardized connectors often improve consistency.
Waterproof And Bathroom Installation Notes
If you are installing in damp zones:
Use a power supply rated for the environment
Keep the driver away from direct water exposure
Seal strip cut ends with end caps and appropriate silicone
Protect connections with heat shrink and waterproof junctions
Never leave exposed copper pads in wet areas, even if the strip itself is waterproof.
Common Wiring Mistakes And How To Avoid Them
Wrong voltage power supply
Always confirm 12V versus 24V before powering on.Under-sized driver
Calculate total wattage and add a safety margin.Reversed polarity
If the strip does not light, polarity is the first check.Too much daisy-chaining
Long series runs increase voltage drop; use parallel wiring and injection.Poor connector contact
Loose connectors cause flicker and heating; add strain relief or solder.
Final Testing Checklist
Before you finish installation:
Confirm all connections are insulated and secure
Confirm brightness is uniform across the full length
Check that connectors and wires stay cool after 15 to 30 minutes
Verify dimming or controller functions if used
Ensure cables are routed to avoid pinching and sharp bends
Conclusion
To connect LED strip lights to a power supply successfully, match the strip voltage, size the driver by total wattage with a safe operating margin, and make secure polarity-correct connections. For RGB or addressable strips, place the correct controller between the power supply and the strip. For longer runs, use parallel wiring and power injection to prevent dimming and keep brightness consistent.
To explore power and lighting supply solutions for your installation, browse the MJF products range. If you share your strip voltage, total length, installation environment, and control requirements, MJF can provide practical guidance on driver selection, wiring layout, and stable configuration planning for your project.