


How To Connect Led Strip Lights To Power Supply
LED strip lights are one of the most popular lighting solutions for both residential and commercial environments. They bring flexibility, efficiency, and a modern touch to every space—from under-cabinet illumination to architectural accents and outdoor signage. Yet, one of the most critical steps in achieving consistent brightness and reliable operation is connecting the LED strip to a proper power supply. Without the right connection, even the best LED strips may flicker, dim, or fail prematurely.
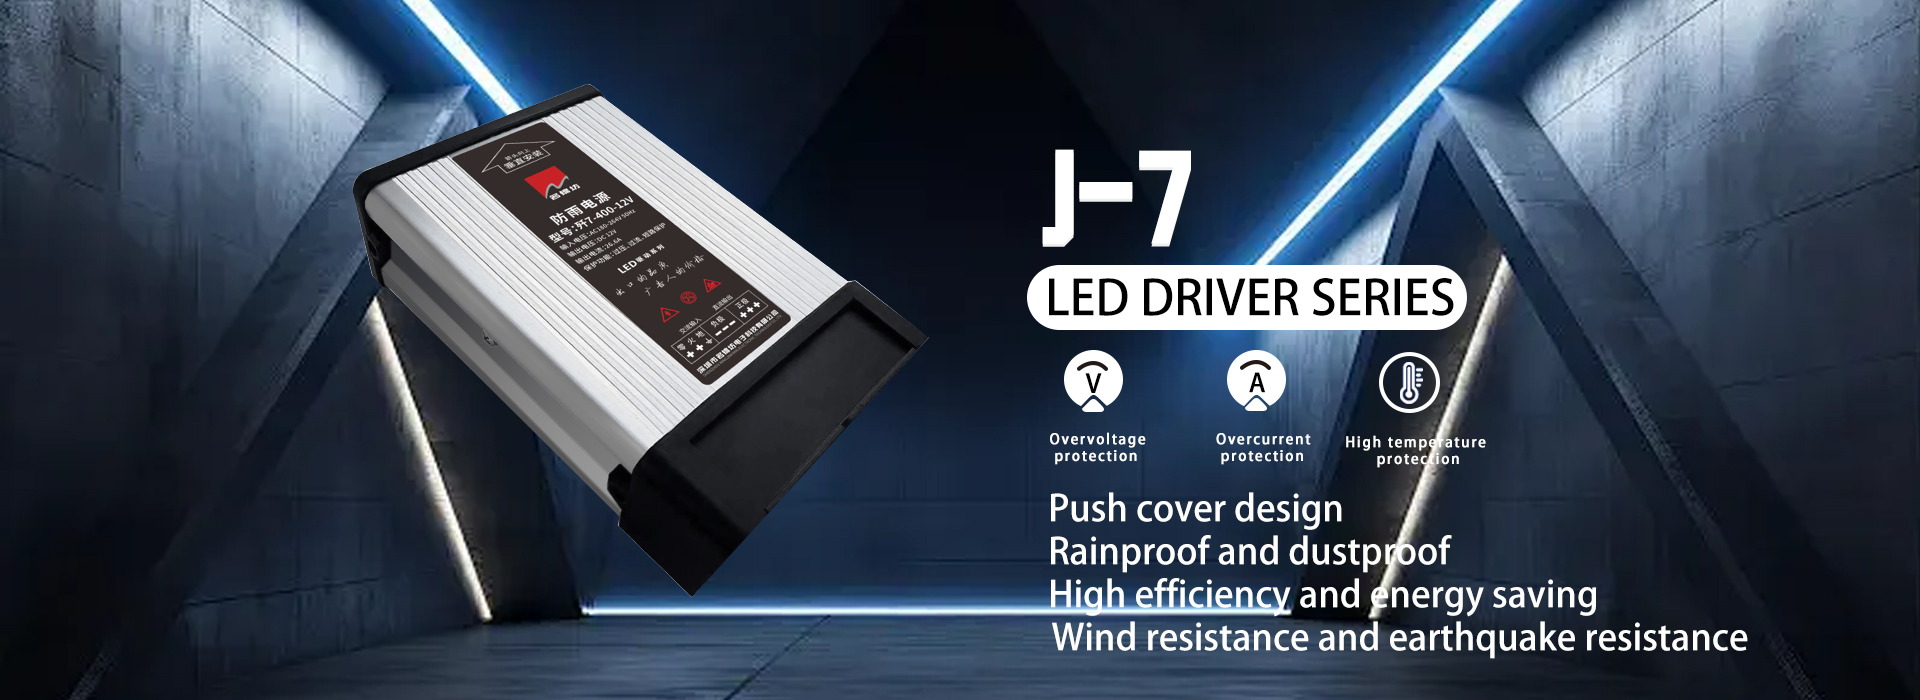
This guide explains in detail how to connect LED strip lights to a power supply safely and effectively. It also highlights why choosing a Rainproof Power Supply from MJF is the most reliable solution for long-lasting and stable lighting systems.
Understanding LED Strip Power Requirements
Before making any connection, you need to understand what your LED strip requires to function properly. Each LED strip has specific power and voltage demands that must match the output of the power supply.
| Parameter | Description | Why It Matters |
|---|---|---|
| Voltage (V) | Common options are 12V and 24V DC. | The power supply output must match the LED strip’s rated voltage exactly to avoid burnout or dim lighting. |
| Current (A) | Depends on total wattage and length of strip. | Determines the minimum amperage your power supply must deliver. |
| Wattage (W) | Usually listed per meter. | Helps calculate total power consumption for proper sizing of the power supply. |
Example:
If your LED strip is rated at 24V and consumes 14.4W per meter, and you plan to use 10 meters, the total power requirement is 144W. You should choose a 24V power supply with at least 20% extra capacity — approximately 180W — for safe and efficient operation.
MJF’s rainproof power supply series is ideal for this purpose. Each model delivers stable voltage with high conversion efficiency, protecting your LED strips from overload, short circuit, and voltage fluctuations, ensuring consistent brightness even in outdoor or humid environments.
Tools and Materials You’ll Need
Having the right tools simplifies installation and ensures all connections are secure. Below is a checklist to prepare before connecting:
LED strip lights (12V or 24V type)
MJF rainproof power supply (match voltage and wattage)
DC connectors or terminal blocks
Wire stripper and screwdriver
Soldering iron and heat shrink tubing (optional for permanent connections)
Multimeter (for checking polarity and voltage)
Insulated copper wires (16–20 AWG recommended)
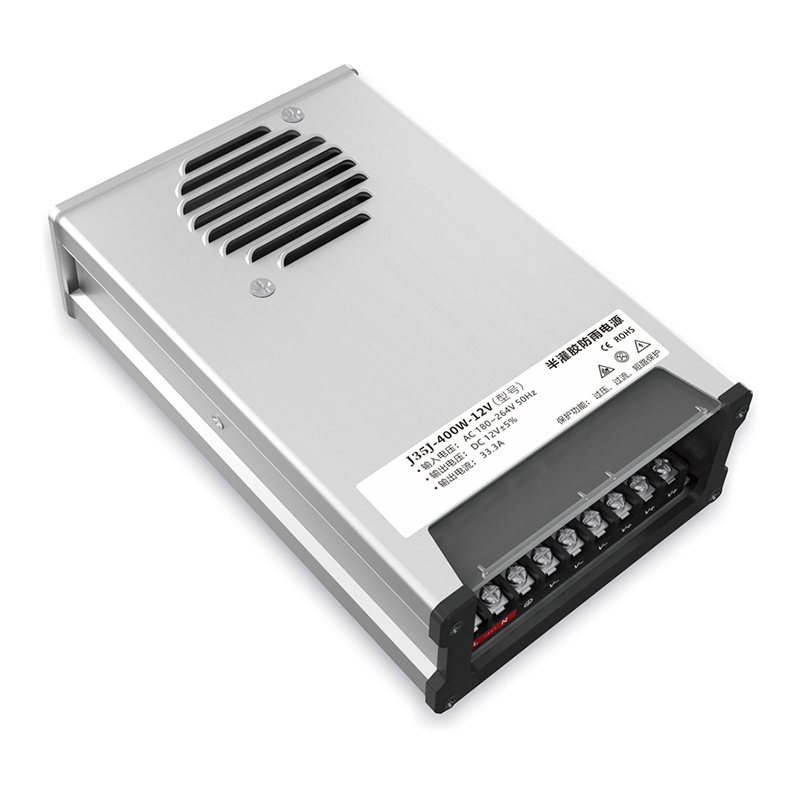
Each of these components plays a specific role. The DC connector ensures easy plug-and-play attachment; terminal blocks help when connecting multiple strips; and the MJF rainproof power supply guarantees steady output even in tough weather conditions, thanks to its IP65-rated enclosure and high heat dissipation aluminum housing.
Step-by-Step Guide to Connecting LED Strips to a Power Supply
1. Identify the Power Supply Output
Begin by checking the output terminals of your MJF power supply. Typically, they are clearly labeled as:
L = Live wire (AC input)
N = Neutral wire (AC input)
GND (⏚) = Ground connection
V+ = Positive DC output
V− = Negative DC output
MJF designs all rainproof models with easy-access terminals and clear polarity markings, reducing wiring errors and installation time.
2. Match LED Strip Voltage to Power Supply
Before any connection, confirm that your LED strip’s voltage matches the output voltage of the power supply. For instance, never connect a 12V LED strip to a 24V power supply — this will immediately burn the LEDs. Conversely, using a 24V strip with a 12V supply will result in dim or non-functional lighting.
If you use multiple LED strips, connect them in parallel to the same power source instead of in series. Parallel wiring ensures each strip receives equal voltage, preventing brightness drop across longer runs.
3. Connect the Wires Properly
Follow these wiring instructions carefully:
Turn off all power sources to prevent electrical shock.
Connect the AC input wires (L, N, and GND) from your household mains to the corresponding input terminals of the MJF power supply.
Next, attach the V+ and V− terminals to the LED strip’s positive and negative pads respectively.
Double-check all connections using a multimeter to verify proper polarity.
Once verified, plug in or switch on the power supply.
If done correctly, your LED strips will illuminate instantly with even brightness across the entire length.
Tip:
When installing outdoors, seal the wire joints with silicone gel or heat shrink tubing to maintain waterproof integrity. MJF’s rainproof design already provides a sealed aluminum case, but securing your external wiring is equally crucial.
Connecting Multiple LED Strips to One Power Supply
For large lighting projects like outdoor signage, under-cabinet runs, or architectural installations, you may need to connect multiple LED strips to a single power supply. In such cases, follow this method:
| Scenario | Recommended Connection | Reason |
|---|---|---|
| Short strips (under 5m each) | Parallel wiring directly to the power supply | Ensures equal voltage and brightness across all strips. |
| Long runs (>5m per line) | Use amplifiers or additional power supplies at intervals | Prevents voltage drop and brightness inconsistency. |
| Outdoor installations | MJF rainproof power supply with IP65 protection | Provides resistance to rain, dust, and humidity. |
Parallel connections maintain consistent voltage, while amplifiers help reinforce signal strength for RGB or long monochrome strips. With MJF power supplies, you can safely power multiple strips without worrying about overheating or overload, thanks to their integrated protection systems.
Safety Tips During Installation
Proper installation not only ensures performance but also extends the lifespan of both the LED strip and the power supply.
Avoid overloading the power supply. Always choose a unit rated at least 20–30% above total power consumption.
Maintain good ventilation. Even with MJF’s efficient cooling design, ensure the power supply has adequate airflow to dissipate heat.
Never expose open connectors to moisture. For outdoor setups, use waterproof connectors and seal joints properly.
Check voltage output regularly. Use a multimeter to confirm stable DC output, especially when extending the wiring distance.
Install surge protection devices. They safeguard the power supply from sudden power spikes.
The MJF rainproof series already incorporates short-circuit, overvoltage, and overload protection, giving installers an extra layer of safety for demanding environments such as patios, signage, and architectural façades.
Why Choose MJF Rainproof Power Supply for LED Strips
When it comes to powering LED strip lights, the power supply is the heart of the system. MJF’s rainproof power supply is engineered to deliver unmatched reliability, stability, and efficiency for both indoor and outdoor applications.
Key Advantages of MJF Power Supplies
Waterproof and Dustproof (IP65 Rated): Perfect for outdoor LED lighting, garden décor, or exterior signage.
High Conversion Efficiency (Up to 90%): Reduces energy loss, keeps temperatures low, and extends lifespan.
Wide Input Voltage Range (AC 100–240V): Suitable for various regions and voltage standards.
Aluminum Alloy Housing: Offers superior heat dissipation and long-term durability.
Full Protection Circuitry: Built-in safeguards against short circuits, overvoltage, and overloads.
Compact Design: Easy to mount in tight spaces or lighting enclosures.
These features make MJF products not only powerful but also engineer-friendly. Whether you are installing LED strips in a humid bathroom, outdoor pathway, or large exhibition setup, MJF’s rainproof models maintain stable output under all conditions.
Troubleshooting Common Issues
Even a simple connection can face occasional challenges. Here’s how to identify and resolve them quickly:
| Problem | Possible Cause | Solution |
|---|---|---|
| LEDs flicker | Power supply wattage too low or poor connection | Upgrade to higher wattage MJF unit and secure all terminals tightly. |
| One strip dimmer than others | Voltage drop across long runs | Use thicker wires or connect strips in parallel. |
| LEDs not lighting | Reversed polarity or blown fuse | Verify V+ and V− polarity; replace fuse if necessary. |
| Power supply overheating | Overload or poor ventilation | Reduce connected load or improve airflow around the power supply. |
| Water ingress | Improper sealing of joints | Apply waterproof sealant and re-check installation integrity. |
Because MJF units are designed with strict QC standards, such issues are minimized when installed correctly. Each model undergoes multiple reliability tests before shipment, ensuring smooth, long-term operation.
Conclusion
Connecting LED strip lights to a power supply may seem technical at first, but with the right tools, knowledge, and a reliable power source like MJF’s rainproof power supply, the process becomes straightforward and safe. Matching voltage, ensuring proper polarity, and following good wiring practices will guarantee stable illumination for years.
Whether you are illuminating a commercial storefront, a residential garden, or an architectural display, always choose a high-quality, weather-resistant power supply. The MJF rainproof power supply provides the perfect combination of durability, performance, and safety—ensuring your LED strip lights shine bright, no matter the environment.